MailChimp is a newsletter mailing system that allows you to send email newsletters, share them on social networks, integrate them with services you've already used, and track your results. Following are the steps to integrate MailChimp with EasyBlog.
EasyBlog MailChimp integration DOES NOT support multiple subscriptions for specific bloggers or specific categories or sites. All subscriptions will be subscribing to all blogs.
You'll need to create a new list on MailChimp for this integration. The existing EasyBlog subscribers must be migrated to this new list on MailChimp.
Obtaining MailChimp API Key
Open the MailChimp site and login into your account if you've already registered or signed up for a new account if you're first time here. Once you've logged in to your account, click on your avatar at the bottom-left section and select Account & Billing in the dropdown as shown below.

Next, navigate to Extra > API Keys. If you already have the API keys for your site, you can just copy the key and enter it in the EasyBlog MailChimp Integration settings. If you're new here, you can click on Create A Key button to create a new API key.

 Please read further on MailChimp API Key documentation for more information.


Obtaining MailChimp Audience ID
Each MailChimp audience has a unique audience ID (previously called a list ID) that is auto-generated when the audience is created and cannot be changed.
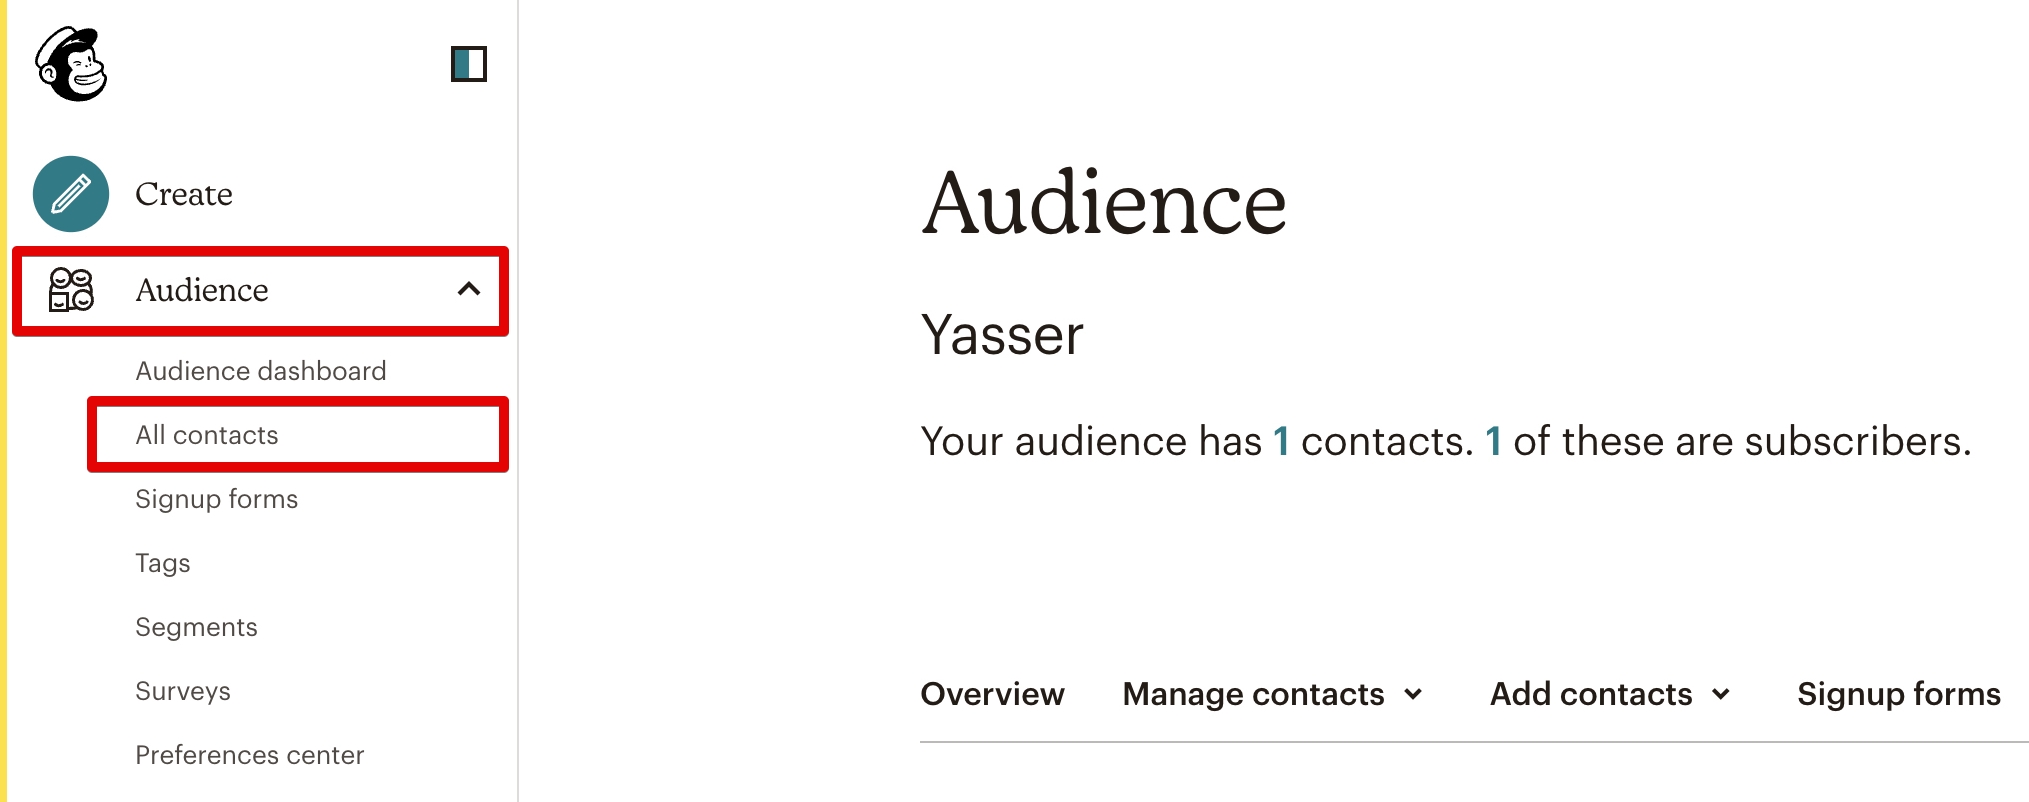
To find your audience ID, click on Audience and click All Contacts from the list. If you have more than one audience, click the Current Audience dropdown and choose the one you want to work with.
Click the Settings dropdown and choose Audience Name and Defaults.

In the Audience ID section, you'll see a string of letters and numbers. This is your audience ID.
 Please read further on Find Your Audience ID documentation for more information.


EasyBlog MailChimp Integration
After you have both the API key and the Audience ID, you can now enter it in the EasyBlog MailChimp integration settings. Navigate to EasyBlog > Settings > Integrations > Newsletters > MailChimp. After you've finished configuring this, click on the Save button to store the information.

- Enable MailChimp Integrations
By enabling this option, when a user subscribes to the blog, EasyBlog will also send an API call to MailChimp's API server so that they will subscribe to your listings. - API Key
For their API server to correctly authenticate our application, you will need to generate an API key from your account section first. List ID
List ID is the unique id for your particular email list in MailChimp. Specify the list id here and subscribers will automatically be subscribed to your list.MailChimp has renamed List ID to Audience ID. You may use the Audience ID created above in this section.
- Create Campaigns
When this is enabled, EasyBlog will create a new campaign in MailChimp whenever you create a new blog post. - Sender Name
Set the sender's name for MailChimp. - Sender Email
Set the reply to an email address for MailChimp. Please ensure that this email domain is verified.